
Grandma Ruth’s Chicken Bundles
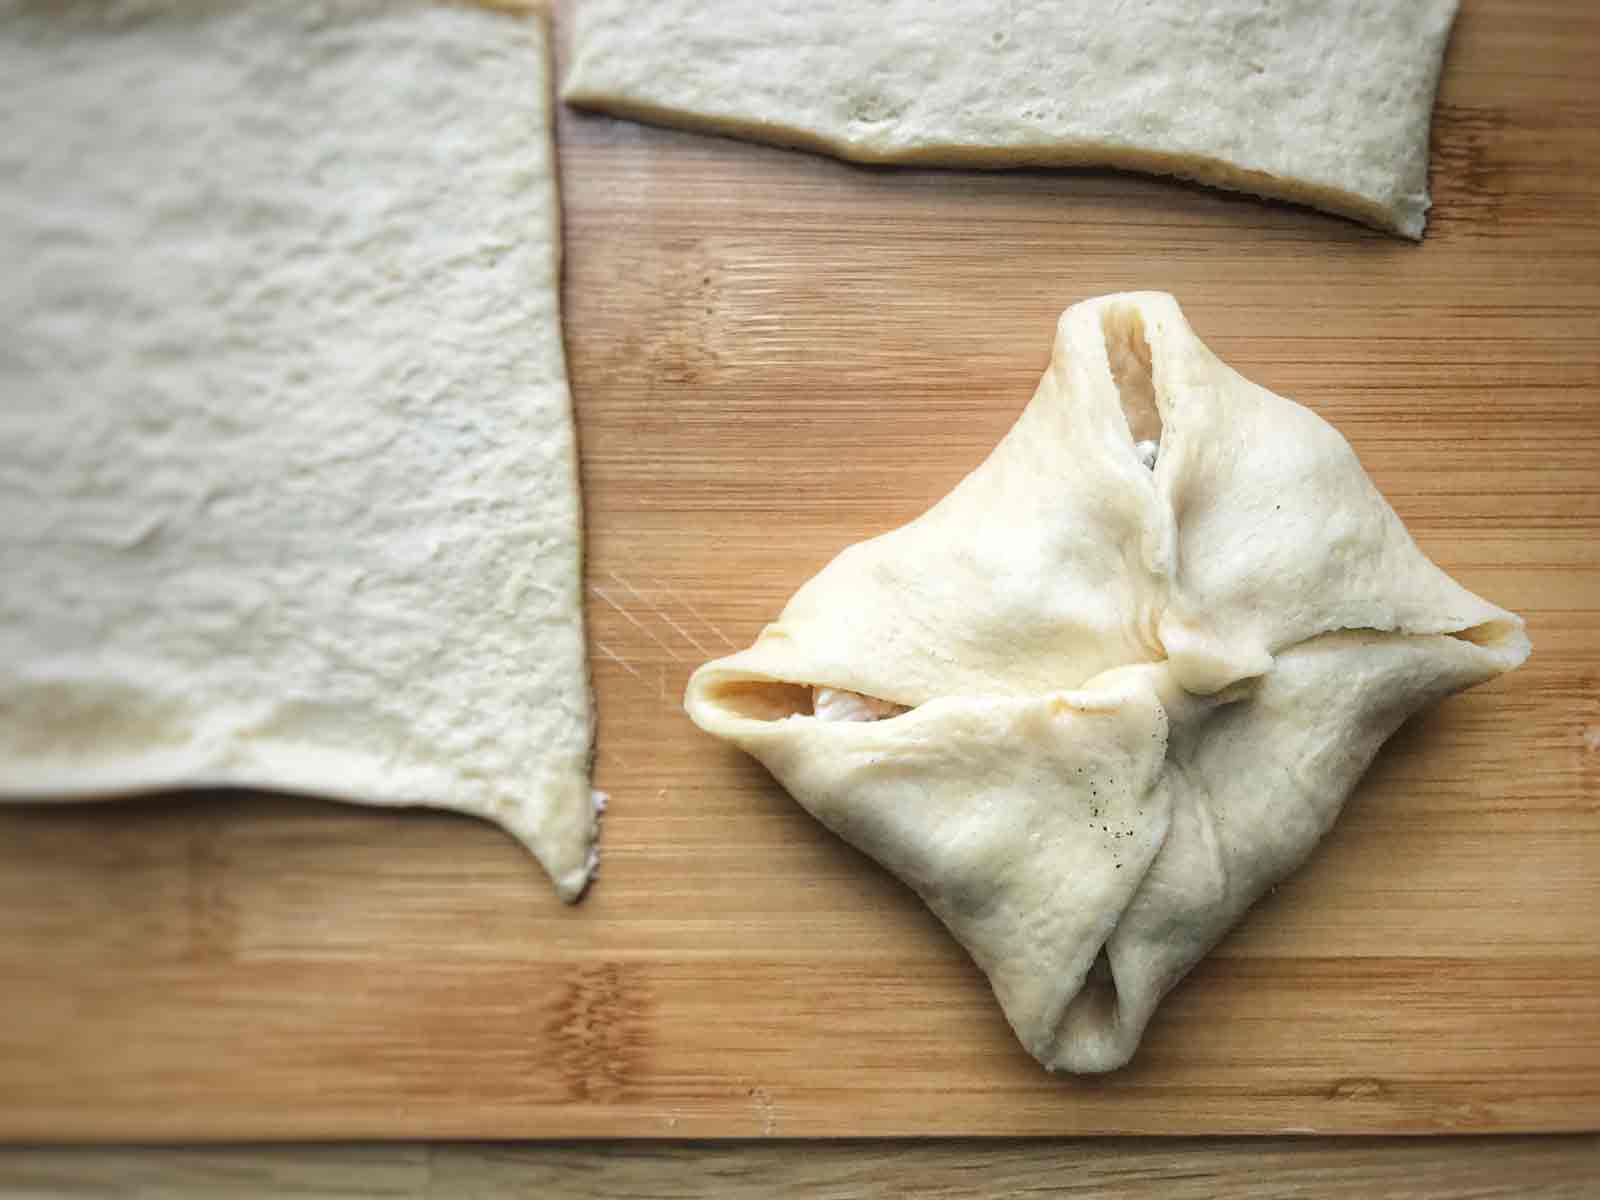
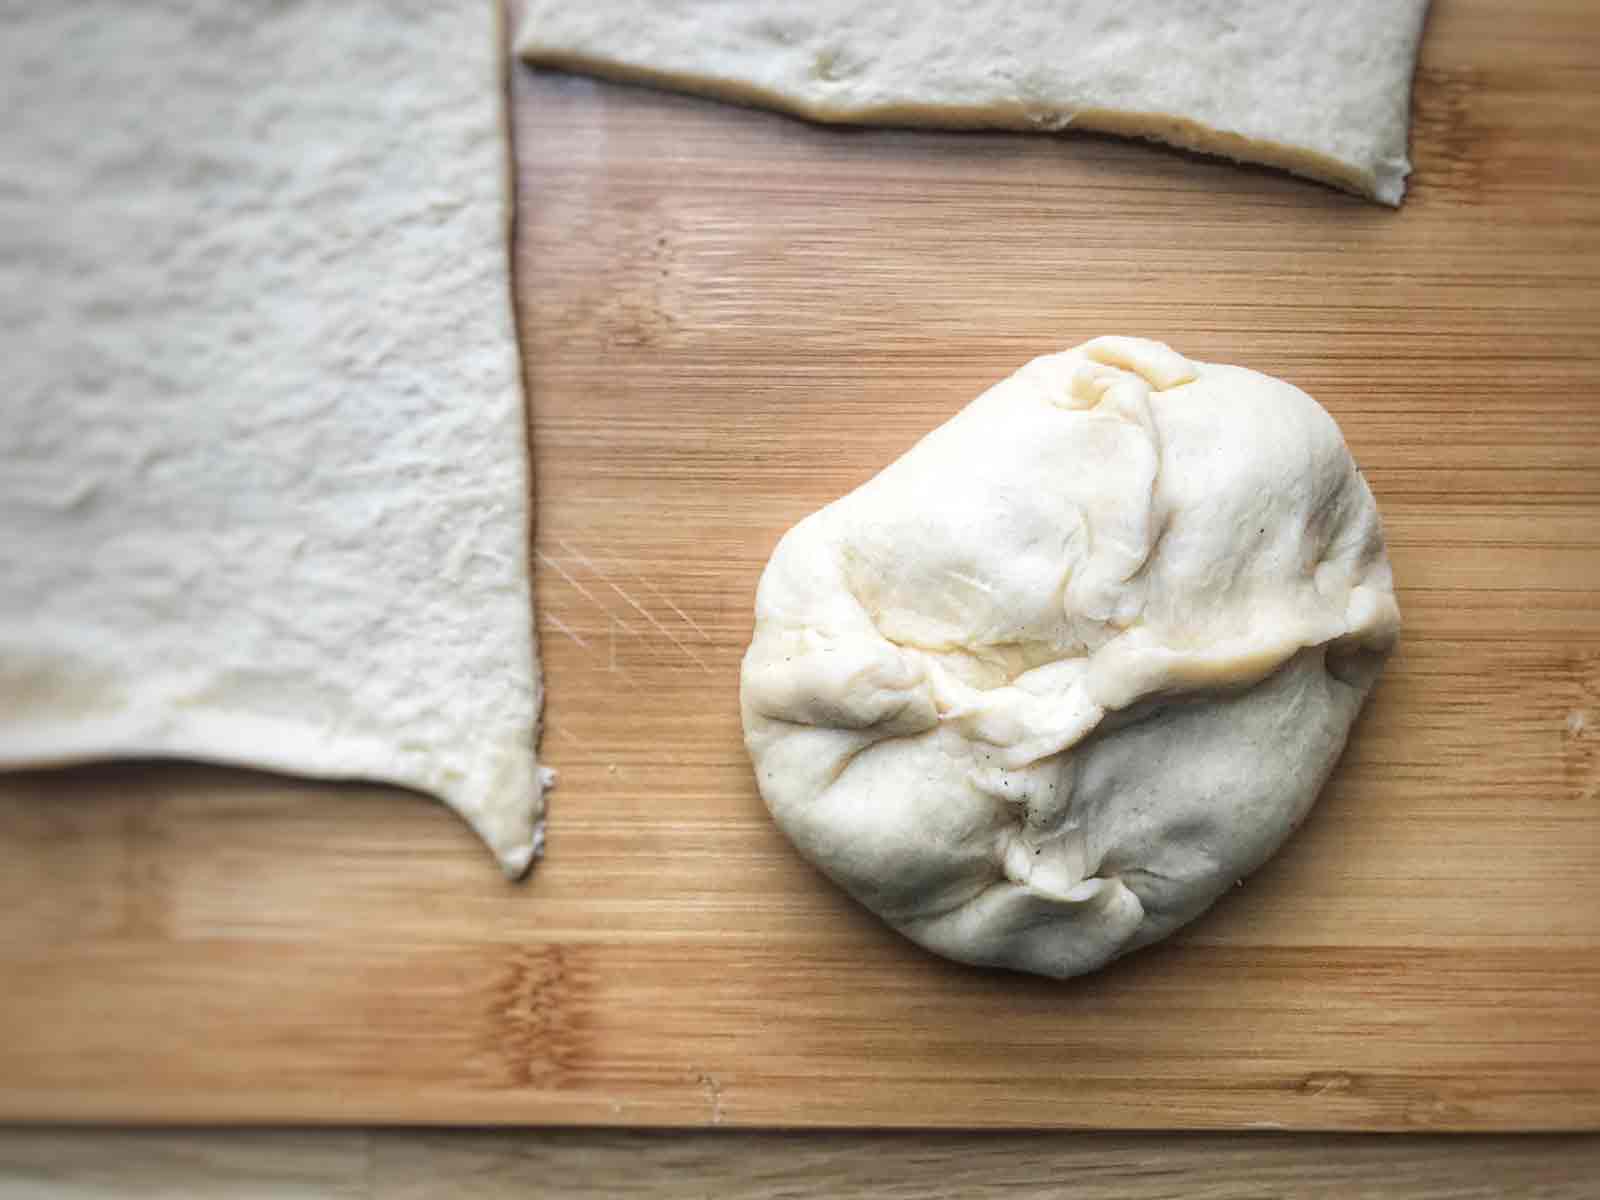
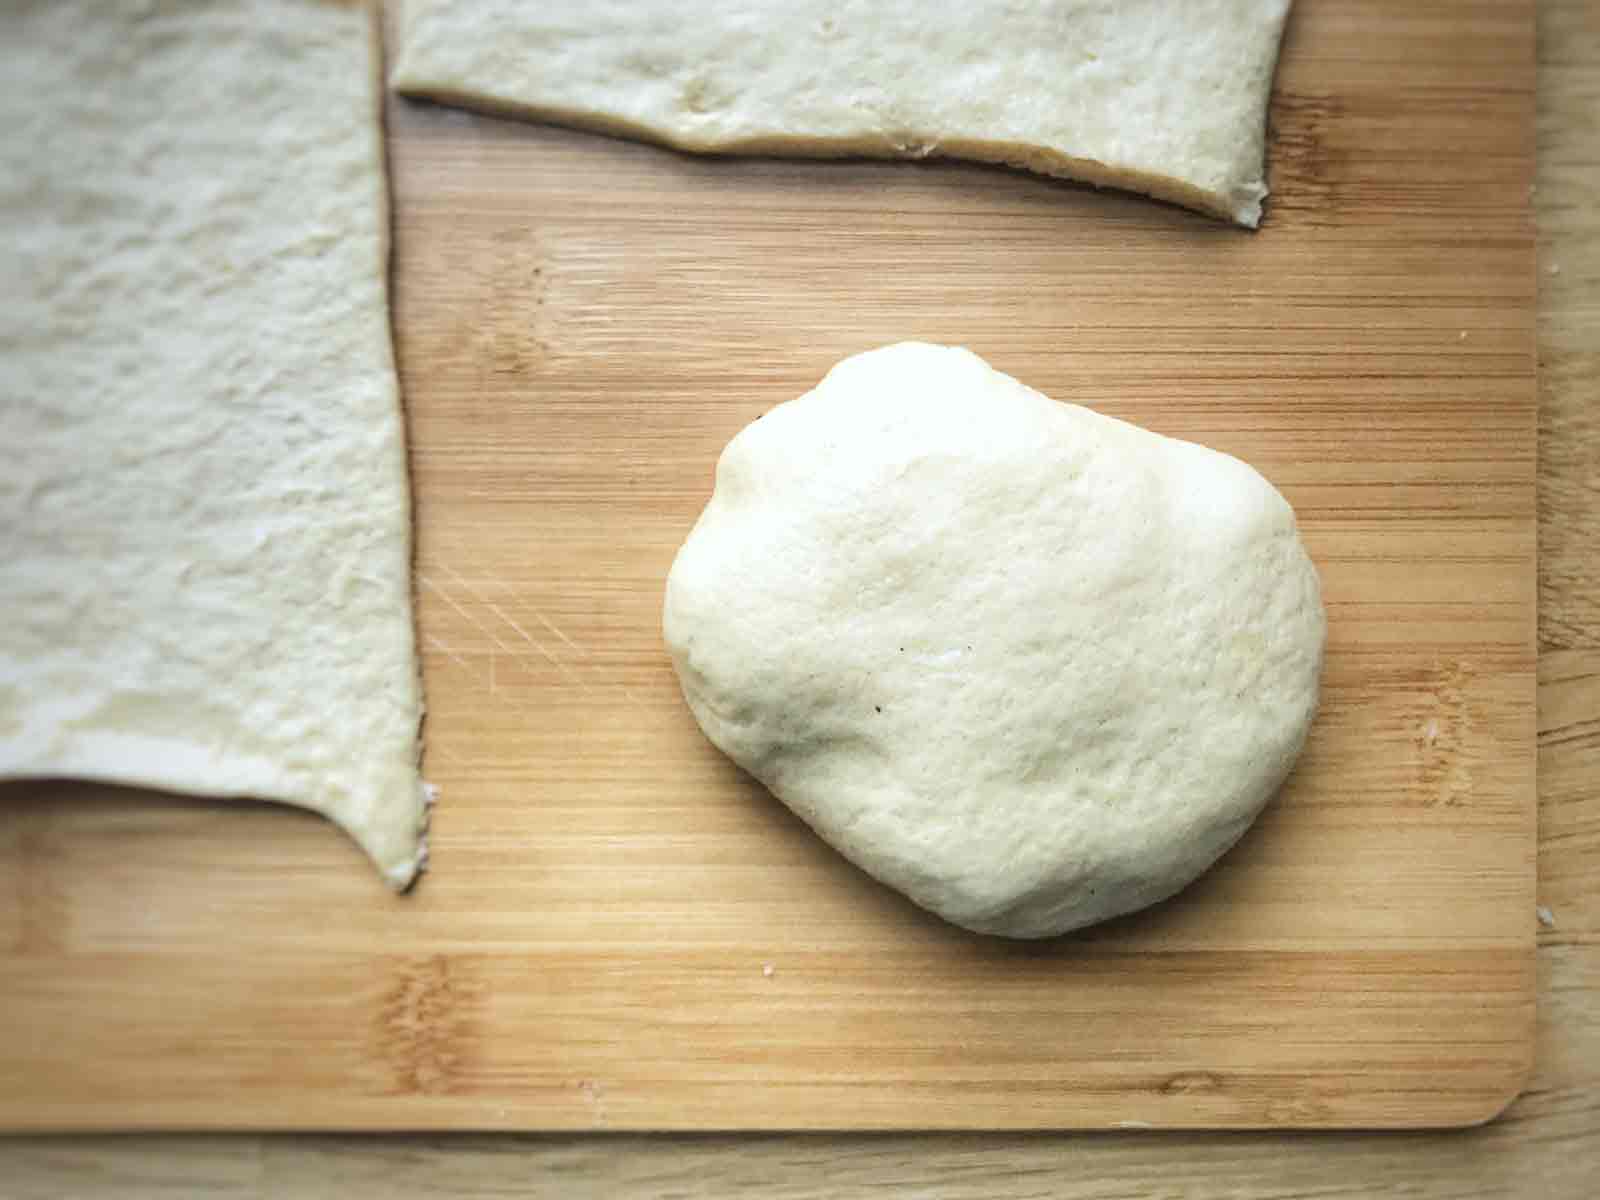
Chicken bundles recipe
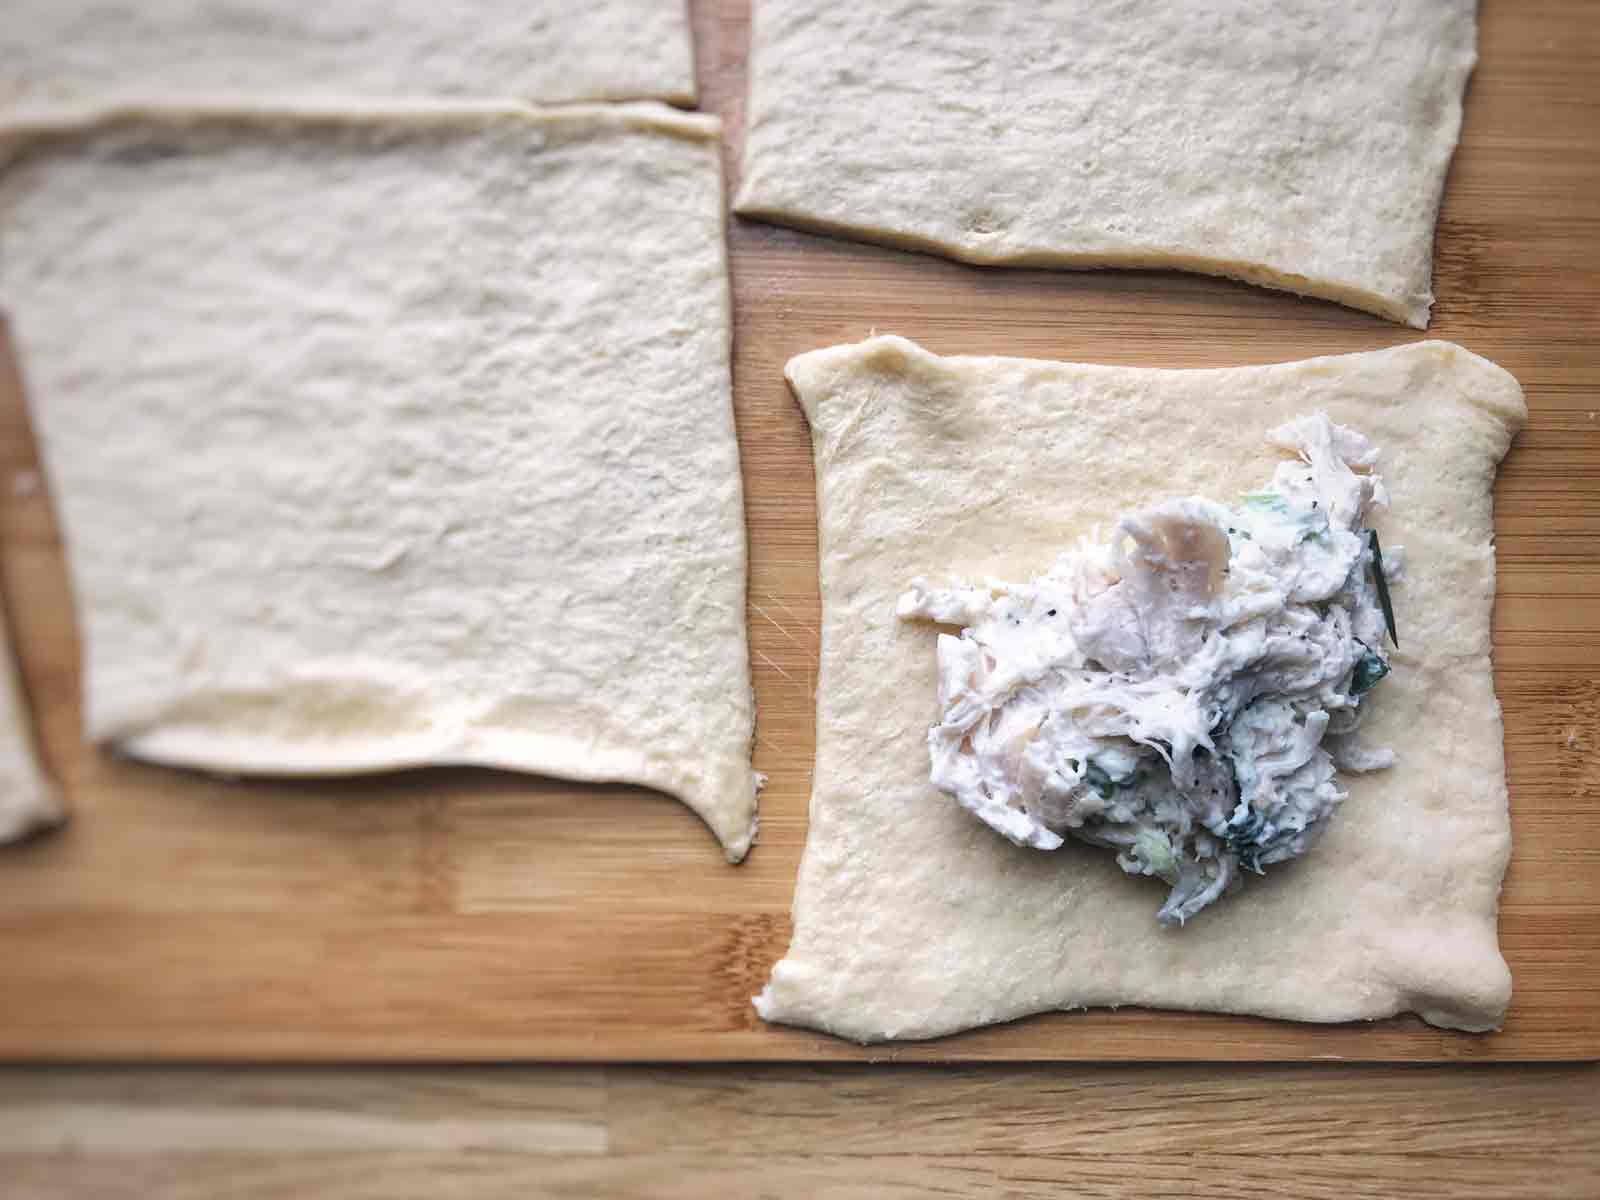
Being an adult is hard. Life gets vastly more complicated and responsibilities seem endless. Sometimes the only cure for the aches and pains of adulthood is enjoying a favorite childhood meal. Chicken Bundles is that meal for me. My grandma made them for my mom, and my mom made them for my sister and I. While I can’t imagine my grandma was the first person ever to wrap a creamy chicken mixture in crescent roll dough, Chicken Bundles feel like a true representation of my family’s midwest roots. It isn’t a complicated recipe. But they are simple, comforting, and nostalgic. I tend to make Chicken Bundles for myself when I’m longing for simpler times. I take my first bite of the pillowy soft little package and I’m immediately back to being ten-years old, sitting at the dinner table, after soccer practice, without a care in the world. It’s a wonderful mental vacation from the stresses of adulthood.
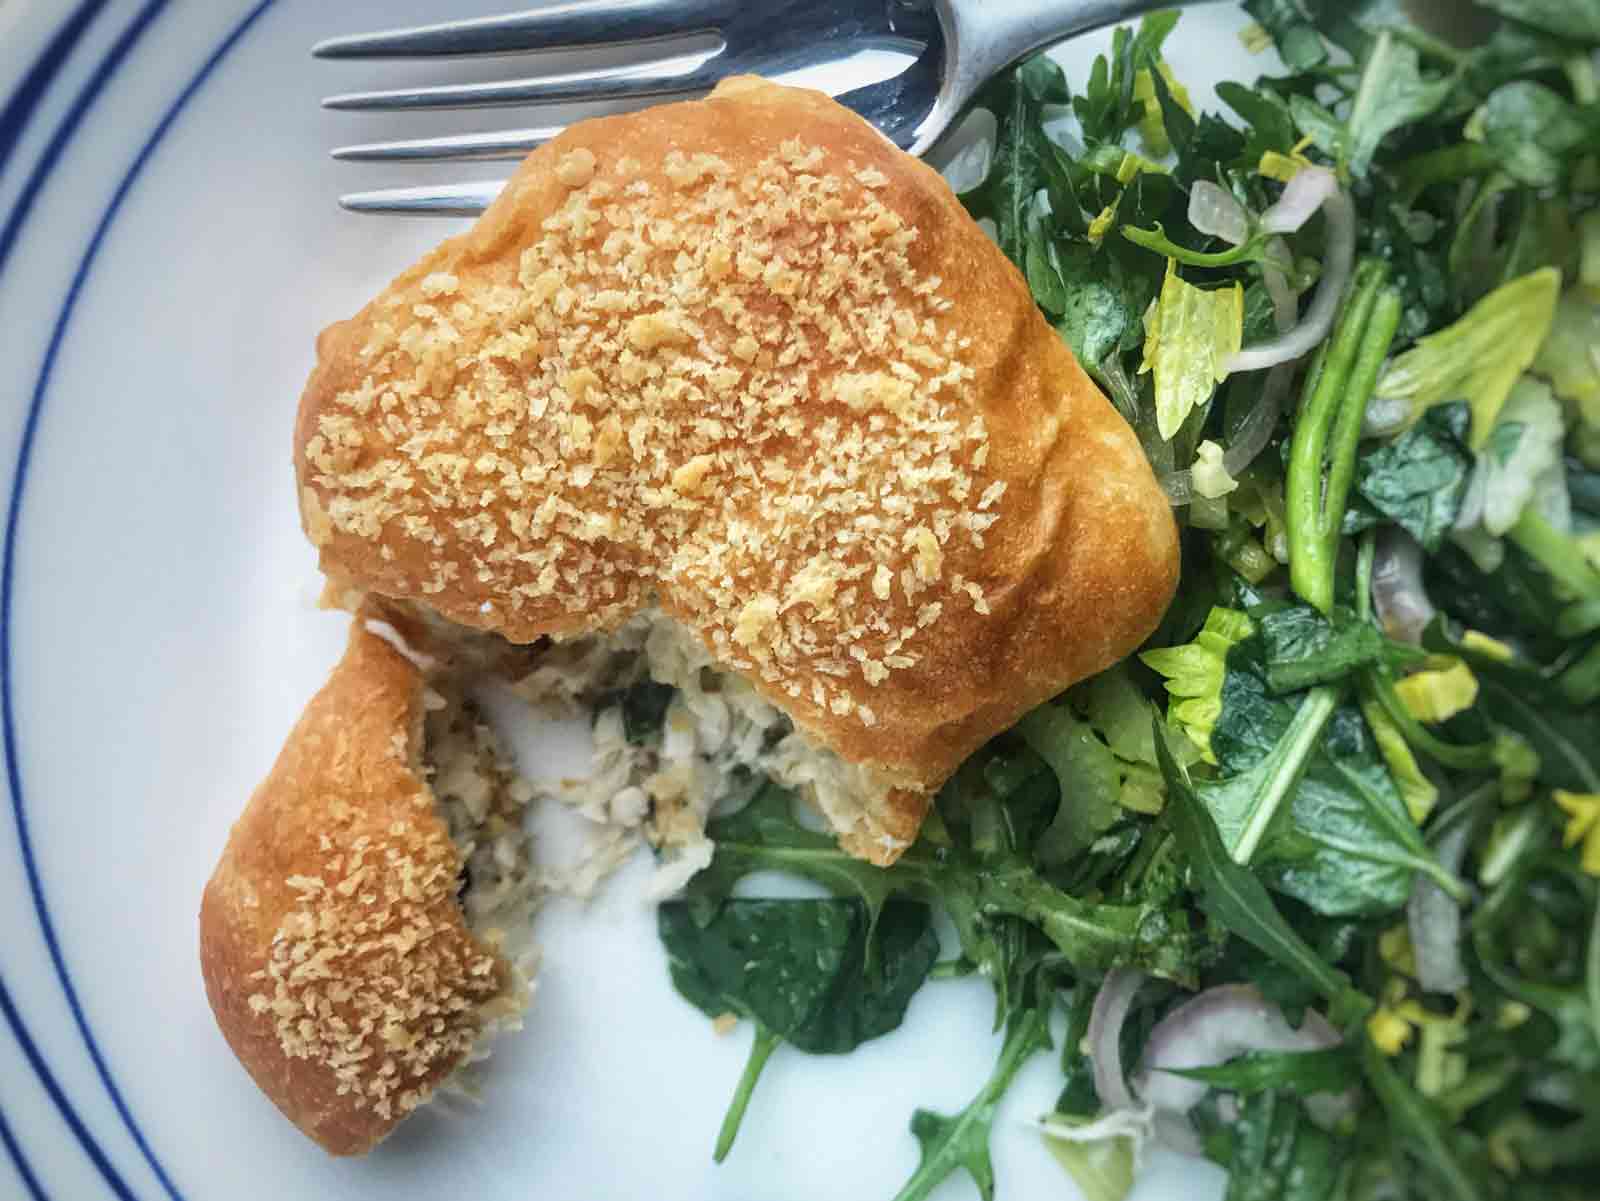
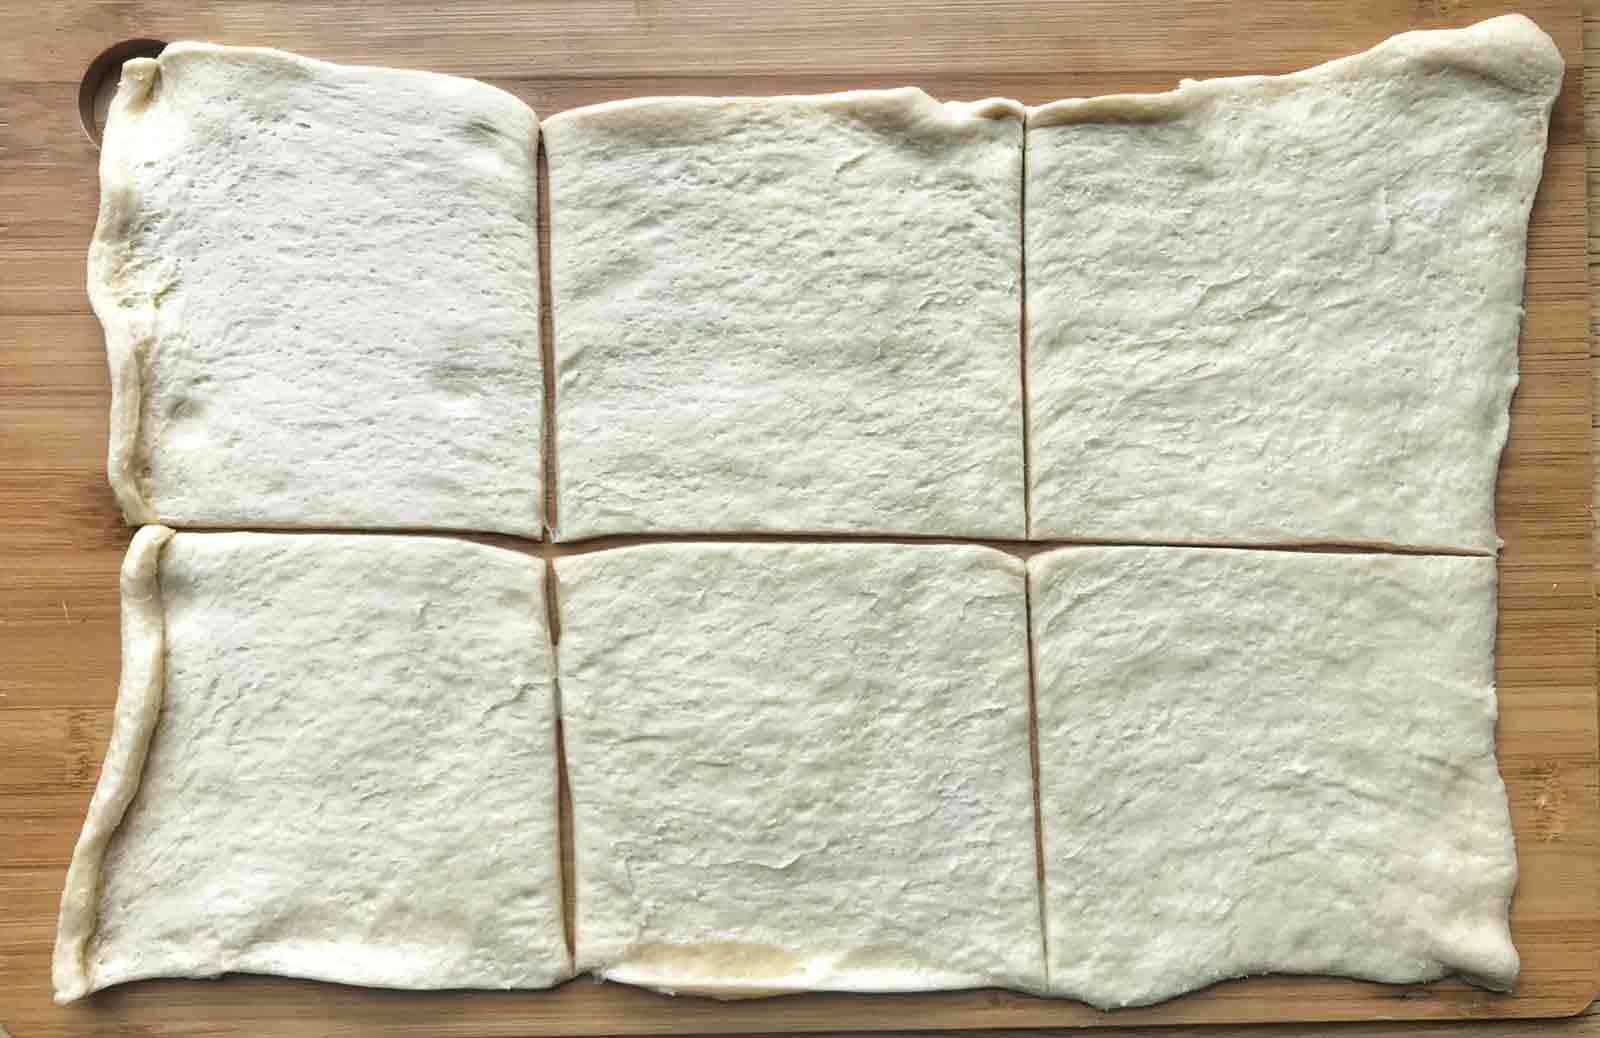
This recipe became even more special to me when my late grandma’s handwritten Chicken Bundles recipe card was passed down to me. And while I make a few modern updates to the original recipe, (sorry, Grandma) I still feel connected to her each time I make them. This recipe makes 6 well-filled bundles, which is plenty for my husband and I. If you need to feed more, it can be easily doubled or tripled. The crescent dough sheet can also be cut into 8 pieces instead of 6. I like to serve the Chicken Bundles with a fresh, bright and tangy salad to complete the meal.

family lore
This is the page from grandma Ruth’s recipe collection.


Chicken Bundles Recipe
by Megan | January 2019
This recipe makes 6 well-filled bundles, which is plenty for two people for dinner. If you need to feed more, it can be easily doubled or tripled. The crescent dough sheet can also be cut into 8 pieces instead of 6. I like to serve the Chicken Bundles with a fresh, bright and tangy salad to complete the meal.
- Prep time: 15 minutes
- Cook time: 45 minutes
- Total time: 1 hour
Servings: 6
Ingredients:
- 2 medium russet potatoes* (about 12 ounces in total)
- 1 teaspoon vegetable oil
- 1 teaspoon salt
- 1 tablespoon butter*
- 1 tablespoon sour cream*
- Salt and black pepper to taste
- Optional: 1 tablespoon shredded cheese, 1 tablespoon chopped chives*
Instructions:
- Preheat the oven to 425ºF. Adjust the oven rack to the middle (or lower middle) position. Wash the potatoes really well (a kitchen towel or brush will help) and cut off any green spuds (along with the skin underneath).
- Using a small knife or fork, prick the potato several times. Dry the potatoes before proceeding to the next step.
- Using a pastry brush or your fingers, coat each potato with a 1/2 teaspoon of vegetable oil. If using a cooking spray, thinly coat the potatoes in oil; they should not be drenched or dripping. Sprinkle a 1/2 teaspoon of salt on all sides of each potato.
- Set the potatoes directly on the oven rack. Place a baking sheet (or aluminum foil) on the rack below to catch any oil. Bake for 45 minutes to an hour. The potato is finished baking when a knife can go all the way through without any resistance (see note 1).
- Take the potatoes out of the oven. Let them cool for 5 minutes, or until they are safe for handling.
- Cut each potato in half and scoop out as much of their insides as you can into a medium bowl. Add the butter to the potatoes and mash with a fork or potato masher. Then, add the sour cream and mix well. Salt and pepper to taste (see note 2).
- This recipe only uses two of the skins (see note 3). Choose the two that look the best and fill them with the potato mixture. Sprinkle cheese on top and place the potatoes in an oven-safe pan.
- Turn on your oven's broil function and adjust the oven rack to the highest position. Place the pan in the oven. Let the cheese melt and turn slightly golden, about 2 minutes.
- Remove. Sprinkle chives on top and serve warm.
Notes
- For crunchier potato skins, brush the finished potatoes with some more oil and bake them for an extra 15-20 minutes.
- When salting the potatoes, make sure to consider the amount of saltiness that's contained in each of your other toppings. For example, if you're using a saltier cheese or anchovies, you might want to reduce the amount of salt you sprinkle on the potatoes.
- If you intend to use more substantial toppings for your potatoes (e.g. toppings bar, nacho toppings, stew, etc.), we suggest you keep all four skins, fill them equally with the potato mixture, and then add your toppings.
Denotes items that we prefer to be organic. Read more about it here: Items to buy organic when grocery shopping.